You can take a backup of the Master Fabric Server’s Fabric Authenticator configurations in a cluster set up and restore them using the fabric-auth-backup-restore command.
There are two main reasons you might want to perform a backup and restore of the Fabric Authenticator:
If you want to set up a new cluster setup with server configurations from the existing cluster setup.
If you want to recover the lost configurations of the fabric authenticator in an existing cluster setup.
Access the Master Fabric Server through SSH connection.
Execute the fabric-auth-backup-restore command in the Master Fabric Server.
Select Backup.
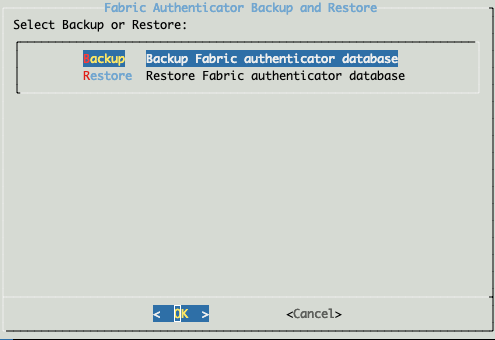
Selecting Backup
Click OK to start the backup process.
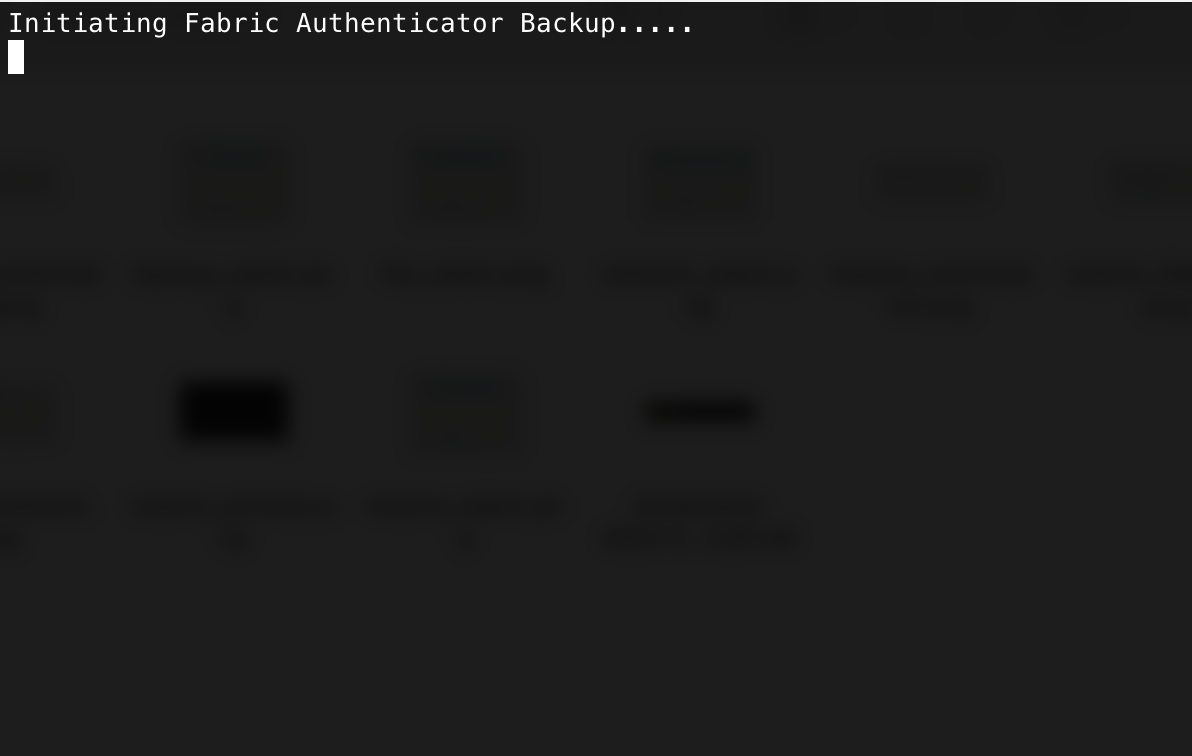
Taking Backup
A confirmation message appears in the Fabric Server when the backup completes.
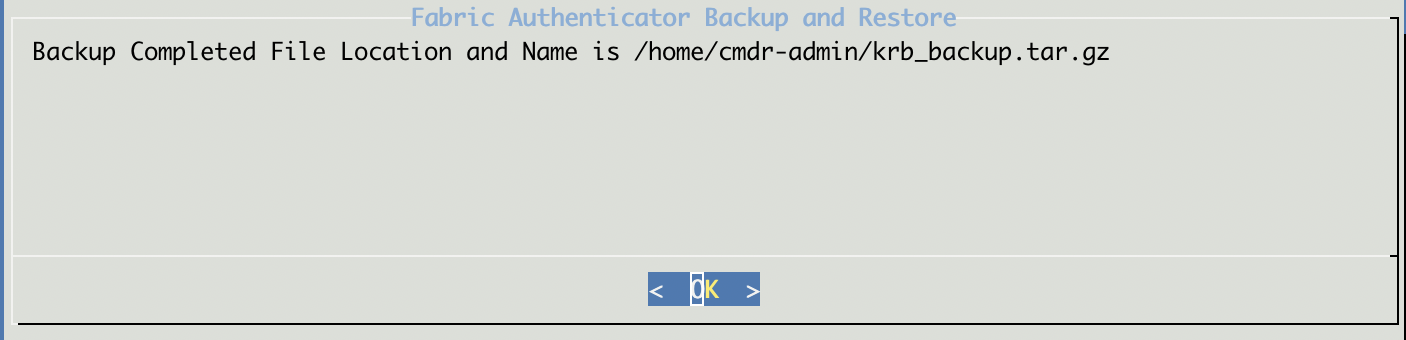
Successful Backup Completion
Click OK.
The Fabric Server stores the backup in the /home/cmdr-admin location of the cmdr-admin user.
The Fabric Server saves only one backup file. If you take two backups, the second backup file overrides the first file.
As a failsafe measure, make sure to copy the backup file to other remote locations too.
Important
To restore the backup in new Master Fabric Server, the Fabric Server must have same physical IP, tunnel IP and hostname as the Fabric Server from which the backup was taken.
To restore the backup, Fabric Server must be in the same version as the Fabric Server from which the backup was taken.
If you are setting up new Master Fabric Server, execute fabric-app-installer command in the Master Fabric Server.
After the restore process, Fabric Authenticator configurations is reverted to the state when the backup was taken. All changes made to the Fabric Authenticator configurations after the backup are lost.
There are two ways to restore a backup:
Restore Fabric Authenticator Database from File
Restore Fabric Authenticator Database from Slave Server
The backup file is located in the /home directory of cmdr-admin user in existing Master Fabric Server. If you are setting up a new Master Fabric Server, copy the backup file from the existing Master Fabric Server where the backup file is located. Following example shows how to copy the backup file from existing Master Fabric Server to the new Master Fabric Server using SCP:
scp -i <path_to_rsa_file> <user>@<SOURCE_IP>:<path_to_backup_file> <user>@<DESTINATION_IP>:<path_to_backup_file>
In the above command,
SOURCE_IP : IP address of existing Master Fabric Server or remote server where the backup file is located.
DESTINATION_IP: IP address of Master Fabric Server where you want to copy the backup file.
To restore a backup from a file:
Access the Master Fabric Server through SSH connection.
Execute the fabric-auth-backup-restore command in the Master Fabric Server.
Select Restore.
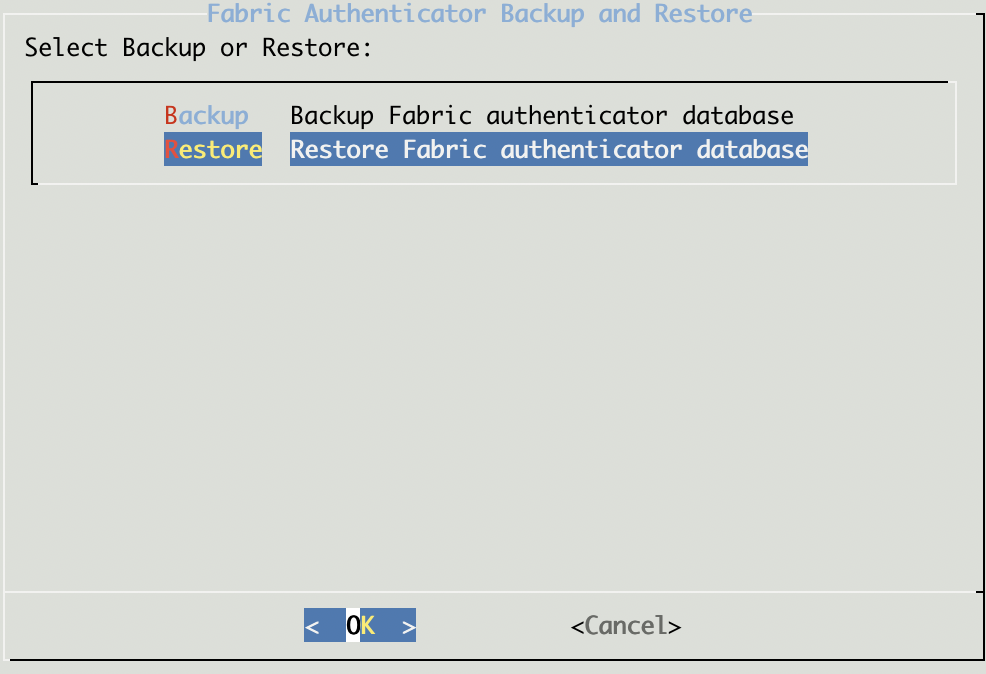
Selecting Restore
Select File.
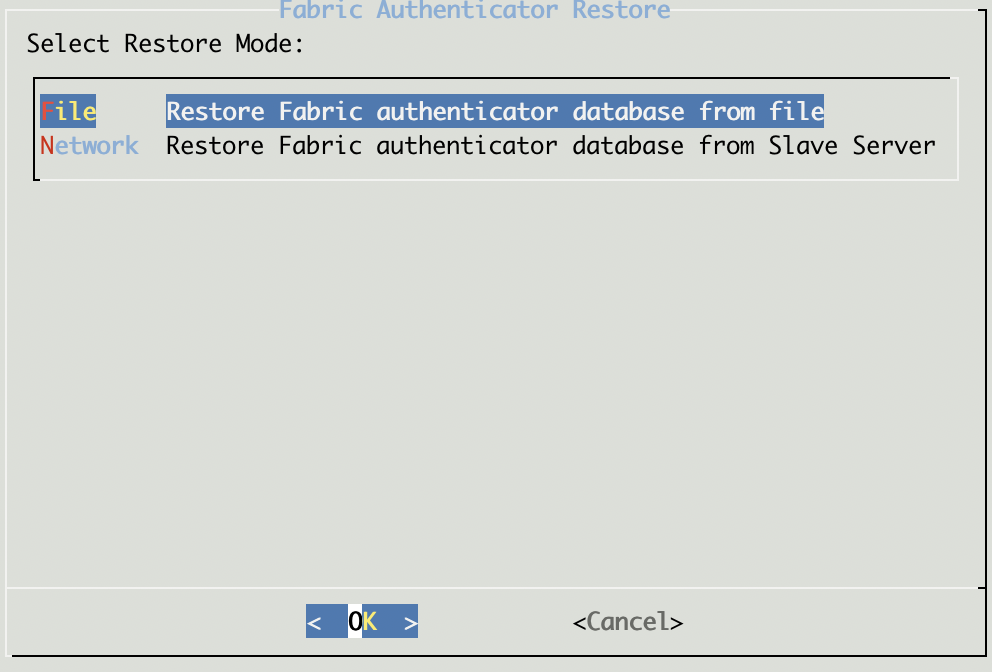
Selecting File Restore Mode
Enter the full path of the backup file that you want to restore.
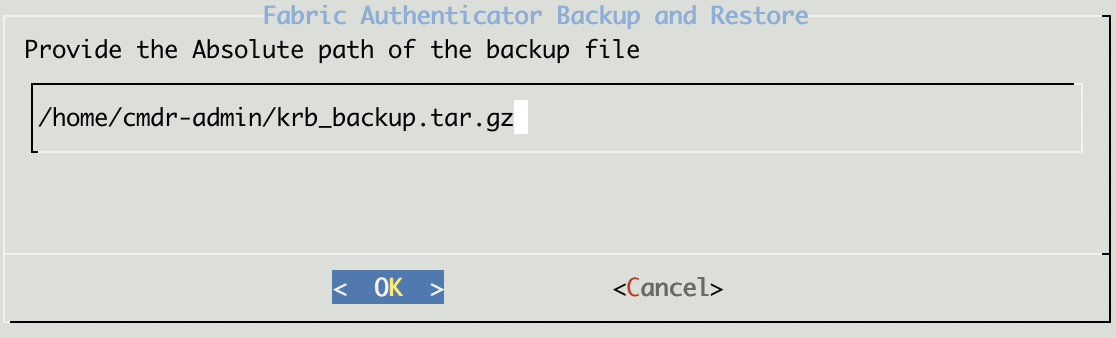
Entering Full Path of the Backup File
Click OK to start the restore process.
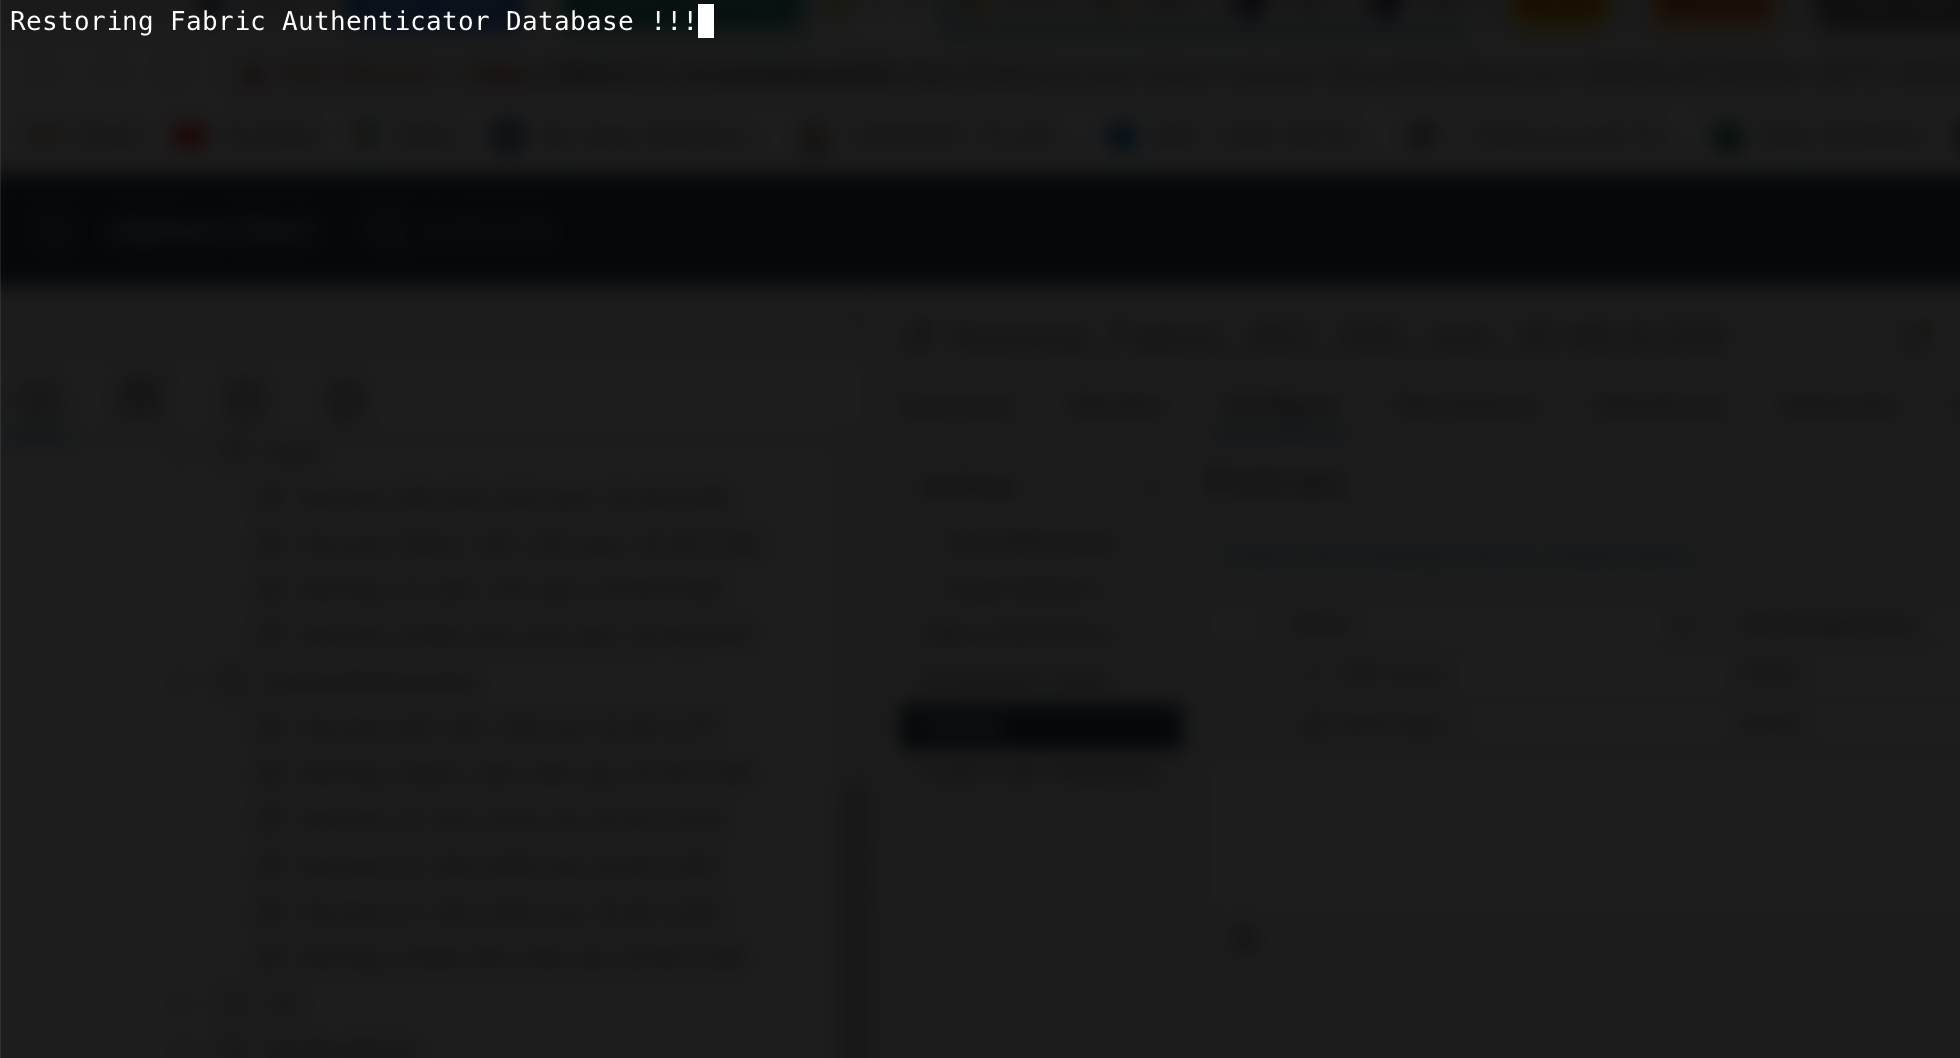
Restore Progress
In the Fabric Server, a timer starts counting down the time until the restore process completes. When the restore process is completed, the system reboots automatically.
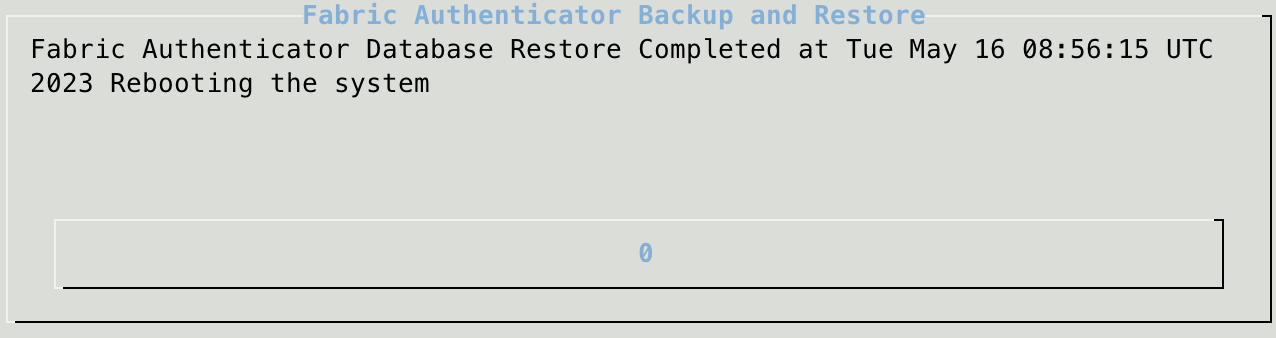
Successful Restore Completion
To restore the backup from the slave server:
Access the Master Fabric Server through SSH connection.
Execute the fabric-auth-backup-restore command on the Master Fabric Server.
Select Restore.
Selecting Restore
Select the Network.
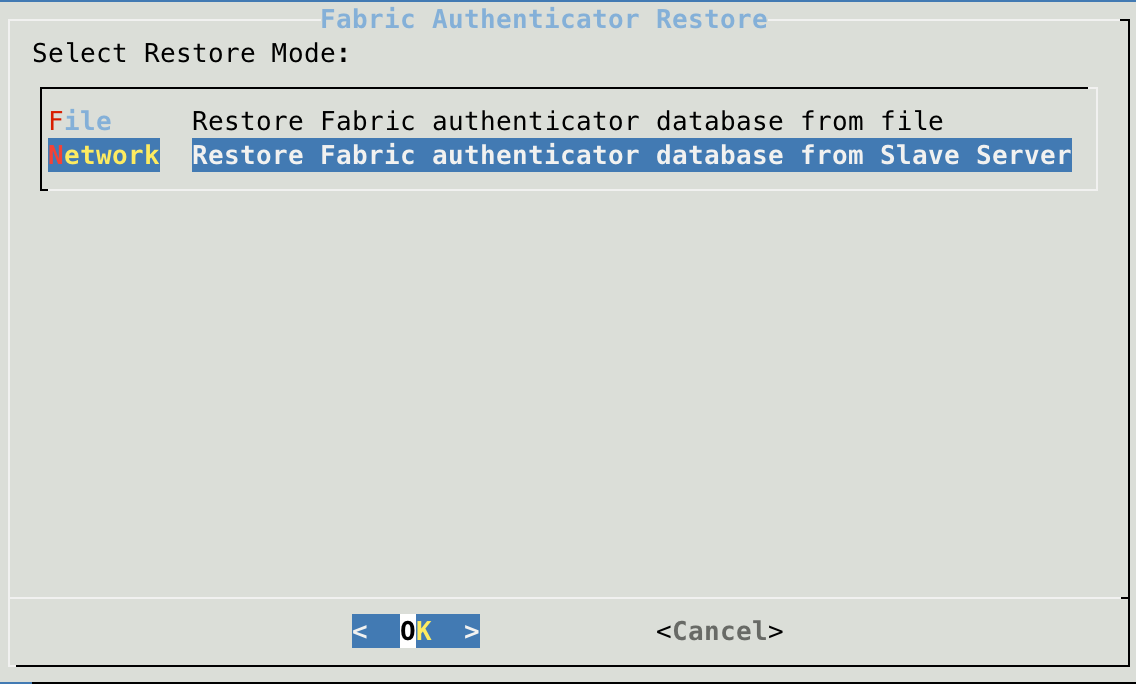
Selecting Network Restore Mode
Select the slave server from where you want to restore the configurations.
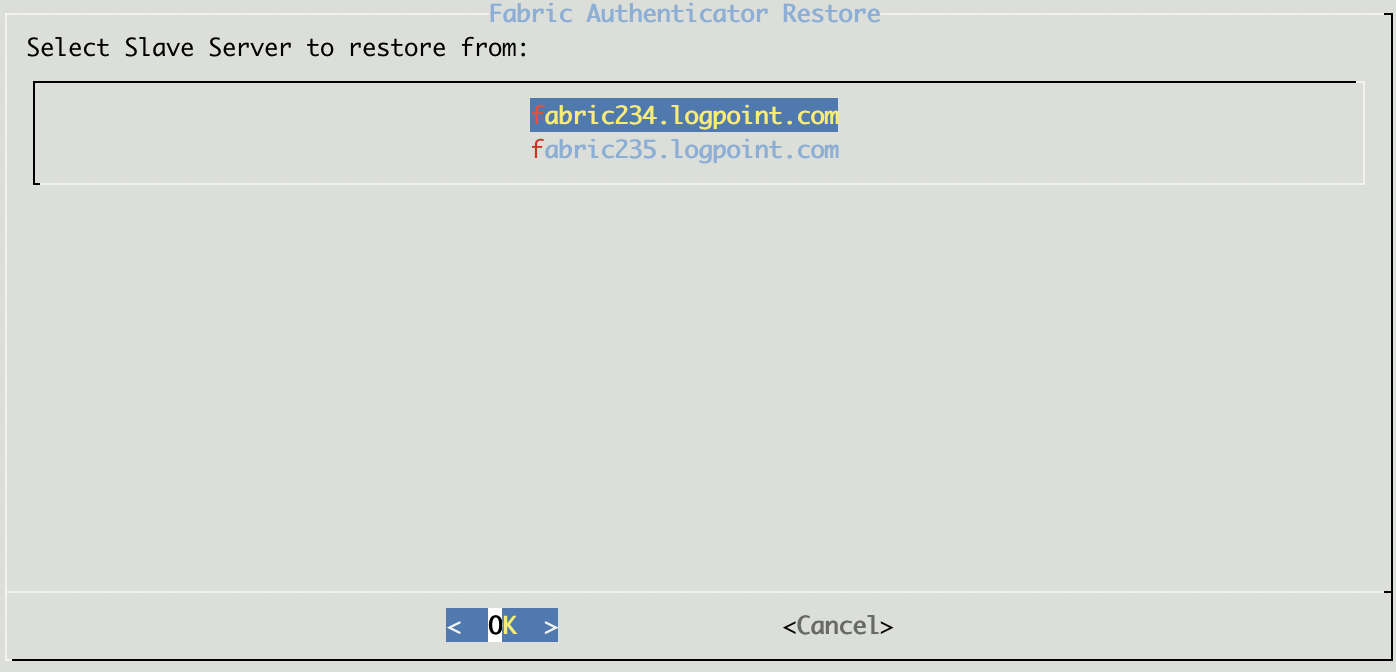
Selecting slave fabric server
Click OK to start the restore process.
Restore Progress
In the Fabric Server, a timer starts counting down the time until the restore process completes. When the restore process is completed, the system reboots automatically.
Successful Restore Completion
After restoring the Fabric Authenticator configurations,
Perform Sync To Fabric Proxy in LPSM. For more details, go to Sync to Fabric Proxy.
In case of setting up new Master Fabric Server, execute recover-fabric-app command to recover the Fabric Storage.